Unlock the Secret to Creamy Chevre: Your Guide to Homemade Goat Cheese
Imagine a world where delicious, fresh goat cheese is always within reach, made by your own hands with just a handful of ingredients. Far from being an intimidating culinary feat, learning how to make goat cheese, or chèvre, at home is surprisingly simple, incredibly rewarding, and wonderfully cost-effective. This comprehensive guide will walk you through creating your own artisanal goat cheese using a straightforward 3-ingredient method, transforming fresh goat milk into a delightful, customizable spread that will impress family and friends.
For many, store-bought cheese is a staple, but the journey into DIY cheesemaking can be truly revolutionary. Not only does it offer significant savings over time, but it also puts you in complete control of the ingredients and flavors. The process for making this creamy chèvre is far simpler than you might envision, even if you’re a complete novice. It relies on a classic coagulation method, where heat and an acid agent work together to separate goat's milk into rich curds and a watery whey. Those curds are the precious foundation of your homemade cheese – it's culinary alchemy at its finest!
Gather Your Simple Supplies: Ingredients and Equipment
One of the beauties of this homemade goat cheese recipe is its minimal demand for specialized equipment. Most of what you need you likely already have in your kitchen. However, two items are truly indispensable for success:
- A Reliable Thermometer: Precision is key when heating milk for cheesemaking. A good kitchen thermometer will ensure your milk reaches the ideal temperature without scorching.
- Cheesecloth: As its name suggests, this finely woven cloth is essential for draining the curds and shaping your cheese.
Beyond these, you’ll want a large pot, a slotted spoon, and a bowl for draining.
Now, for the stars of our show – the three simple ingredients:
- Fresh Goat Milk: This is, of course, the foundation. For the best results, opt for full-fat goat milk. While pasteurized goat milk works beautifully, avoid ultra-pasteurized varieties, as the intense heating process can alter milk proteins, making them less likely to curdle effectively. If you have access to raw goat milk and are comfortable using it, that's an excellent option too.
- Citric Acid: Our primary curdling agent. Citric acid, often found in the baking or canning aisle, is a natural choice for many DIY enthusiasts due to its effectiveness. It's a key component in increasing the acidity of the milk, which is crucial for curd formation. You'll dissolve this in a small amount of water before adding it to the milk.
- Water: Used to dissolve the citric acid, ensuring it disperses evenly throughout the milk.
Optional Acid Alternatives: If you don't have citric acid on hand, don't despair! Other acidic agents like fresh lemon juice or even white vinegar can work in a pinch, though the exact quantity might need slight adjustment, and the flavor profile could vary subtly. For a deeper dive into the chemical reactions that transform milk into cheese, explore Unlock the Science of Goat Cheese: Make Creamy Chevre at Home.
The Art and Science of Crafting Your Chevre
Making goat cheese might feel a bit like a kitchen science experiment, and in many ways, it is! You're actively engaging with the chemistry of milk to create a new, delicious product. The goal is to gently encourage the milk's proteins to coagulate, forming solid curds that separate from the liquid whey.
Step-by-Step Guide to Homemade Goat Cheese:
- Prepare Your Acid Solution: Begin by dissolving a measured amount of citric acid in a small quantity of cool water. Set this aside. Remember, adding citric acid to milk dramatically increases its acidity, which is absolutely essential for the cheesemaking process.
- Warm the Milk: Pour your goat milk into a large, clean pot. Add the citric acid solution to the milk and stir gently to combine. Now, place the pot over medium-low heat. This is where your thermometer becomes your best friend. You'll need to slowly heat the milk mixture to a precise temperature range of 185-190°F (85-88°C). The critical part here is to heat it gradually and without letting it boil. Constant monitoring and gentle stirring will prevent scorching.
- Observe the Coagulation: As the milk approaches the target temperature, you'll start to witness the magical transformation. The milk will begin to separate into solid white curds and yellowish, watery whey. This is the telltale sign of successful coagulation! If you're a beginner, it's an incredibly exciting moment. Once you see clear separation, remove the pot from the heat.
- Allow to Stand: Let the curds and whey stand undisturbed in the pot for about 15 minutes. This allows the curds to firm up further and settle, making them easier to collect.
- Drain the Curds: Line a large bowl or a colander with a generous piece of cheesecloth, ensuring there's plenty of overhang. Carefully pour the entire contents of the pot (curds and whey) into the cheesecloth-lined setup. The whey will immediately begin to drain away, leaving the creamy curds behind.
- Initial Drainage and Seasoning: Allow the curds to drain for at least 30-60 minutes, or until they reach your desired consistency. For a creamier, softer chèvre, less draining time is needed. For a firmer cheese, let it drain longer. Once drained to your preference, transfer the curds to a clean bowl. This is the moment to add your seasoning! Incorporate a finely ground cheese salt (or regular fine sea salt) and any herbs or spices you desire. Gently mix until evenly distributed.
- Shape and Chill: You can simply gather the cheesecloth corners, twist them tightly to form a ball, and hang it to continue draining in the refrigerator, or place it in a bowl with a plate on top and a light weight to press it slightly. Alternatively, you can fill small, perforated cheese molds (or even small plastic cups with drainage holes poked in the bottom) with the seasoned curds. Place the molds on a rack over a plate to catch any further drainage. Refrigerate for several hours or overnight to allow the cheese to firm up and fully drain.
A Note on Experience: Don't be afraid to experiment! One time, while following a recipe, a slight miscalculation of citric acid led to a less firm cheese than intended. But instead of a mistake, it became an even creamier, more spreadable chèvre – a delicious "happy accident" that taught us about the versatility of the process. Cooking skill often lies in adapting and embracing the journey!
Customizing Your Chevre and Serving Suggestions
The beauty of homemade goat cheese truly shines in its customizability. Once you have your basic, unadorned chèvre, the culinary possibilities are endless!
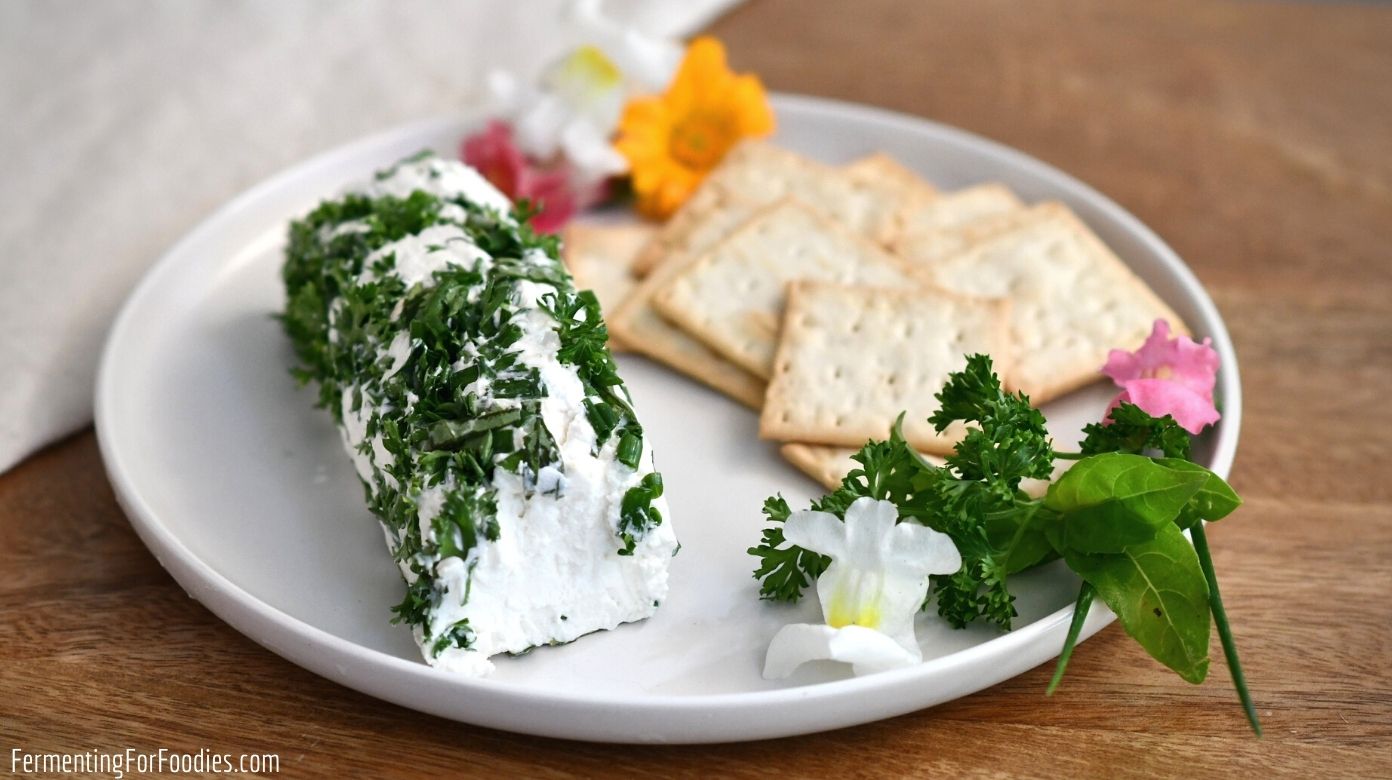
- Herbs: Classic additions like Herbs de Provence, fresh chives, dill, rosemary, or thyme are always winners. Simply chop them finely and mix them into the curds along with the salt.
- Spices: A pinch of black pepper, a touch of red pepper flakes for heat, or even a hint of garlic powder can elevate your cheese.
- Sweet Variations: For a delightful dessert, consider mixing in a drizzle of honey, some finely chopped dried apricots, or a sprinkle of cinnamon and sugar.
- Savory Additions: Sun-dried tomatoes, finely diced olives, or caramelized onions can create complex flavor profiles perfect for a cheese board.
Serve your fresh chèvre spread on crackers, crusty bread, or crostini. It's fantastic crumbled over salads, dolloped onto roasted vegetables, or even incorporated into pasta dishes for a tangy creaminess. For more ideas on how to leverage the versatility of your homemade creations, check out DIY Goat Cheese: Simple Steps to Cost-Effective Chevre.
Why Make Your Own? Beyond the Delicious Taste
Beyond the undeniable satisfaction of creating something so delicious from scratch, there are several compelling reasons to embrace homemade goat cheese:
- Cost-Effectiveness: Goat cheese can be pricey at the store. Making it at home with just a few ingredients significantly cuts down on your grocery bill.
- Ingredient Control: You know exactly what goes into your cheese – no hidden additives, preservatives, or artificial flavors. This is especially appealing for those mindful of their diet or with specific dietary needs.
- Digestibility: For many individuals who experience digestive issues with cow's milk or cheese, goat's milk and its products can be a gentler, easier-to-digest alternative.
- Freshness: Enjoy cheese at its peak freshness, often within hours of being made.
Making goat cheese at home is not just a recipe; it's an experience. It’s an opportunity to connect with your food, understand its origins, and revel in the simple pleasure of a wholesome, handmade product. Whether you're a seasoned chef or a curious beginner, the journey of making your own chèvre is one that promises delicious rewards.
